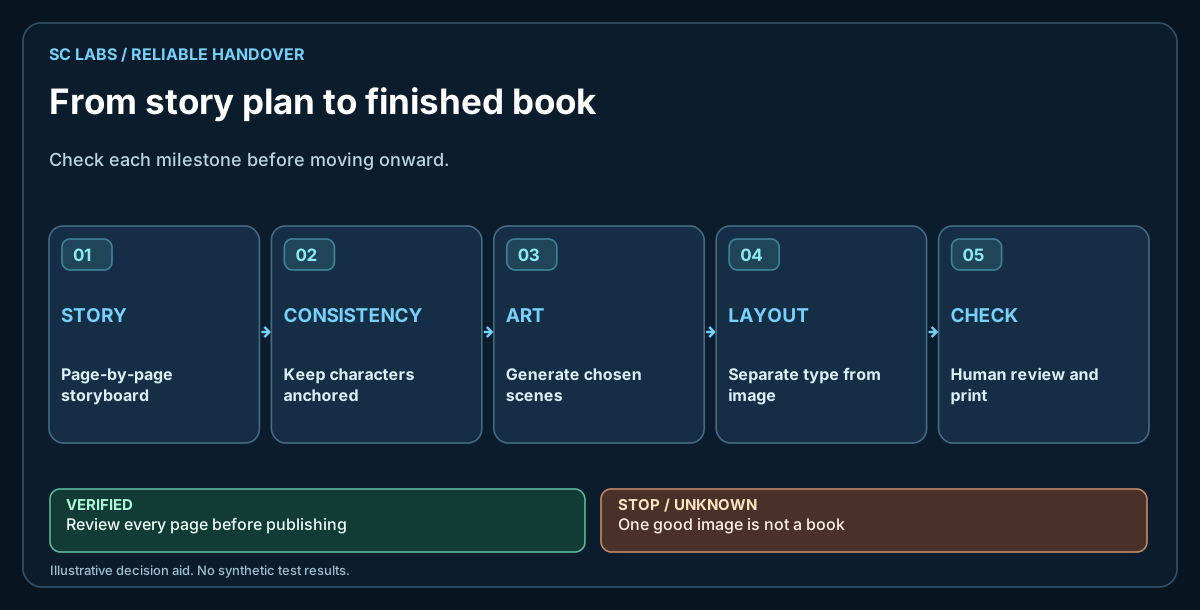
A child can describe a duck in one sentence. A local image model may turn that into an attractive picture. That is a wonderful start. It isn't yet a book.
To make ten or twenty pages feel like one story, you need character consistency, simple page composition, readable text, correct image dimensions and a print file that survives a physical proof.
The broader ARKTOR local-first direction is about user-controlled workflows, but a print-ready creative application needs its own independent product and export tests.
Write the page plan before generating pictures
Keep the story short enough to understand from the images alone. For each spread, write a one-line scene description and what must be visible. If the main character is a duck, keep track of its colours, shape and any accessories across every page.
The picture should leave enough empty space for text. Image generators can create beautiful scenes that are impossible to lay out clearly.
Separate story continuity from visual style
Record the character's recognisable features in one place and the illustration style in another. Use the last approved illustration as the main continuity reference where the model supports it.
Review each scene before continuing. Once a character changes appearance, the next picture may repeat the mistake. The character-consistency guide describes the method; that linked guide must be published before this dependency is made live.
The same print workflow needs a consistent-character sequence and a plan-first storyboard that can be corrected before final layout.
Don't ask the model to lay out the final book
Generate the illustration, then place it in a proper page-layout tool. That gives you control over text, margins, trim size, bleed and page numbers.
A printer receiving individual pages in reading order may handle booklet imposition automatically. If you are printing folded signatures yourself, the sheet sequence is different. Never rearrange pages into a guessed '1 opposite 48' pattern without first confirming the printer's booklet settings, binding and total page count.
Produce a small folded paper dummy and a physical test before printing a batch.
Keep useful originals
Save prompts, reference frames, accepted images, rejected alternatives and the licence information for the models and assets used. A local workflow does not automatically grant commercial rights to every output or training source.
For children, also keep parent approval and local-only defaults clear. A creative app should not require uploading personal photographs or a child's voice without a deliberate decision.
Define the finished-book test
The real acceptance test is not a single high-resolution image. It is a complete export with the expected number of pages, consistent characters, legible text, correct margins, no unexpected blank spreads and a sample that prints in the right order.
Some of this work can be automated. The physical proof is still worth doing.
Editorial note: this describes a practical production method. It does not claim that SC LABS already ships a finished, print-ready book application.